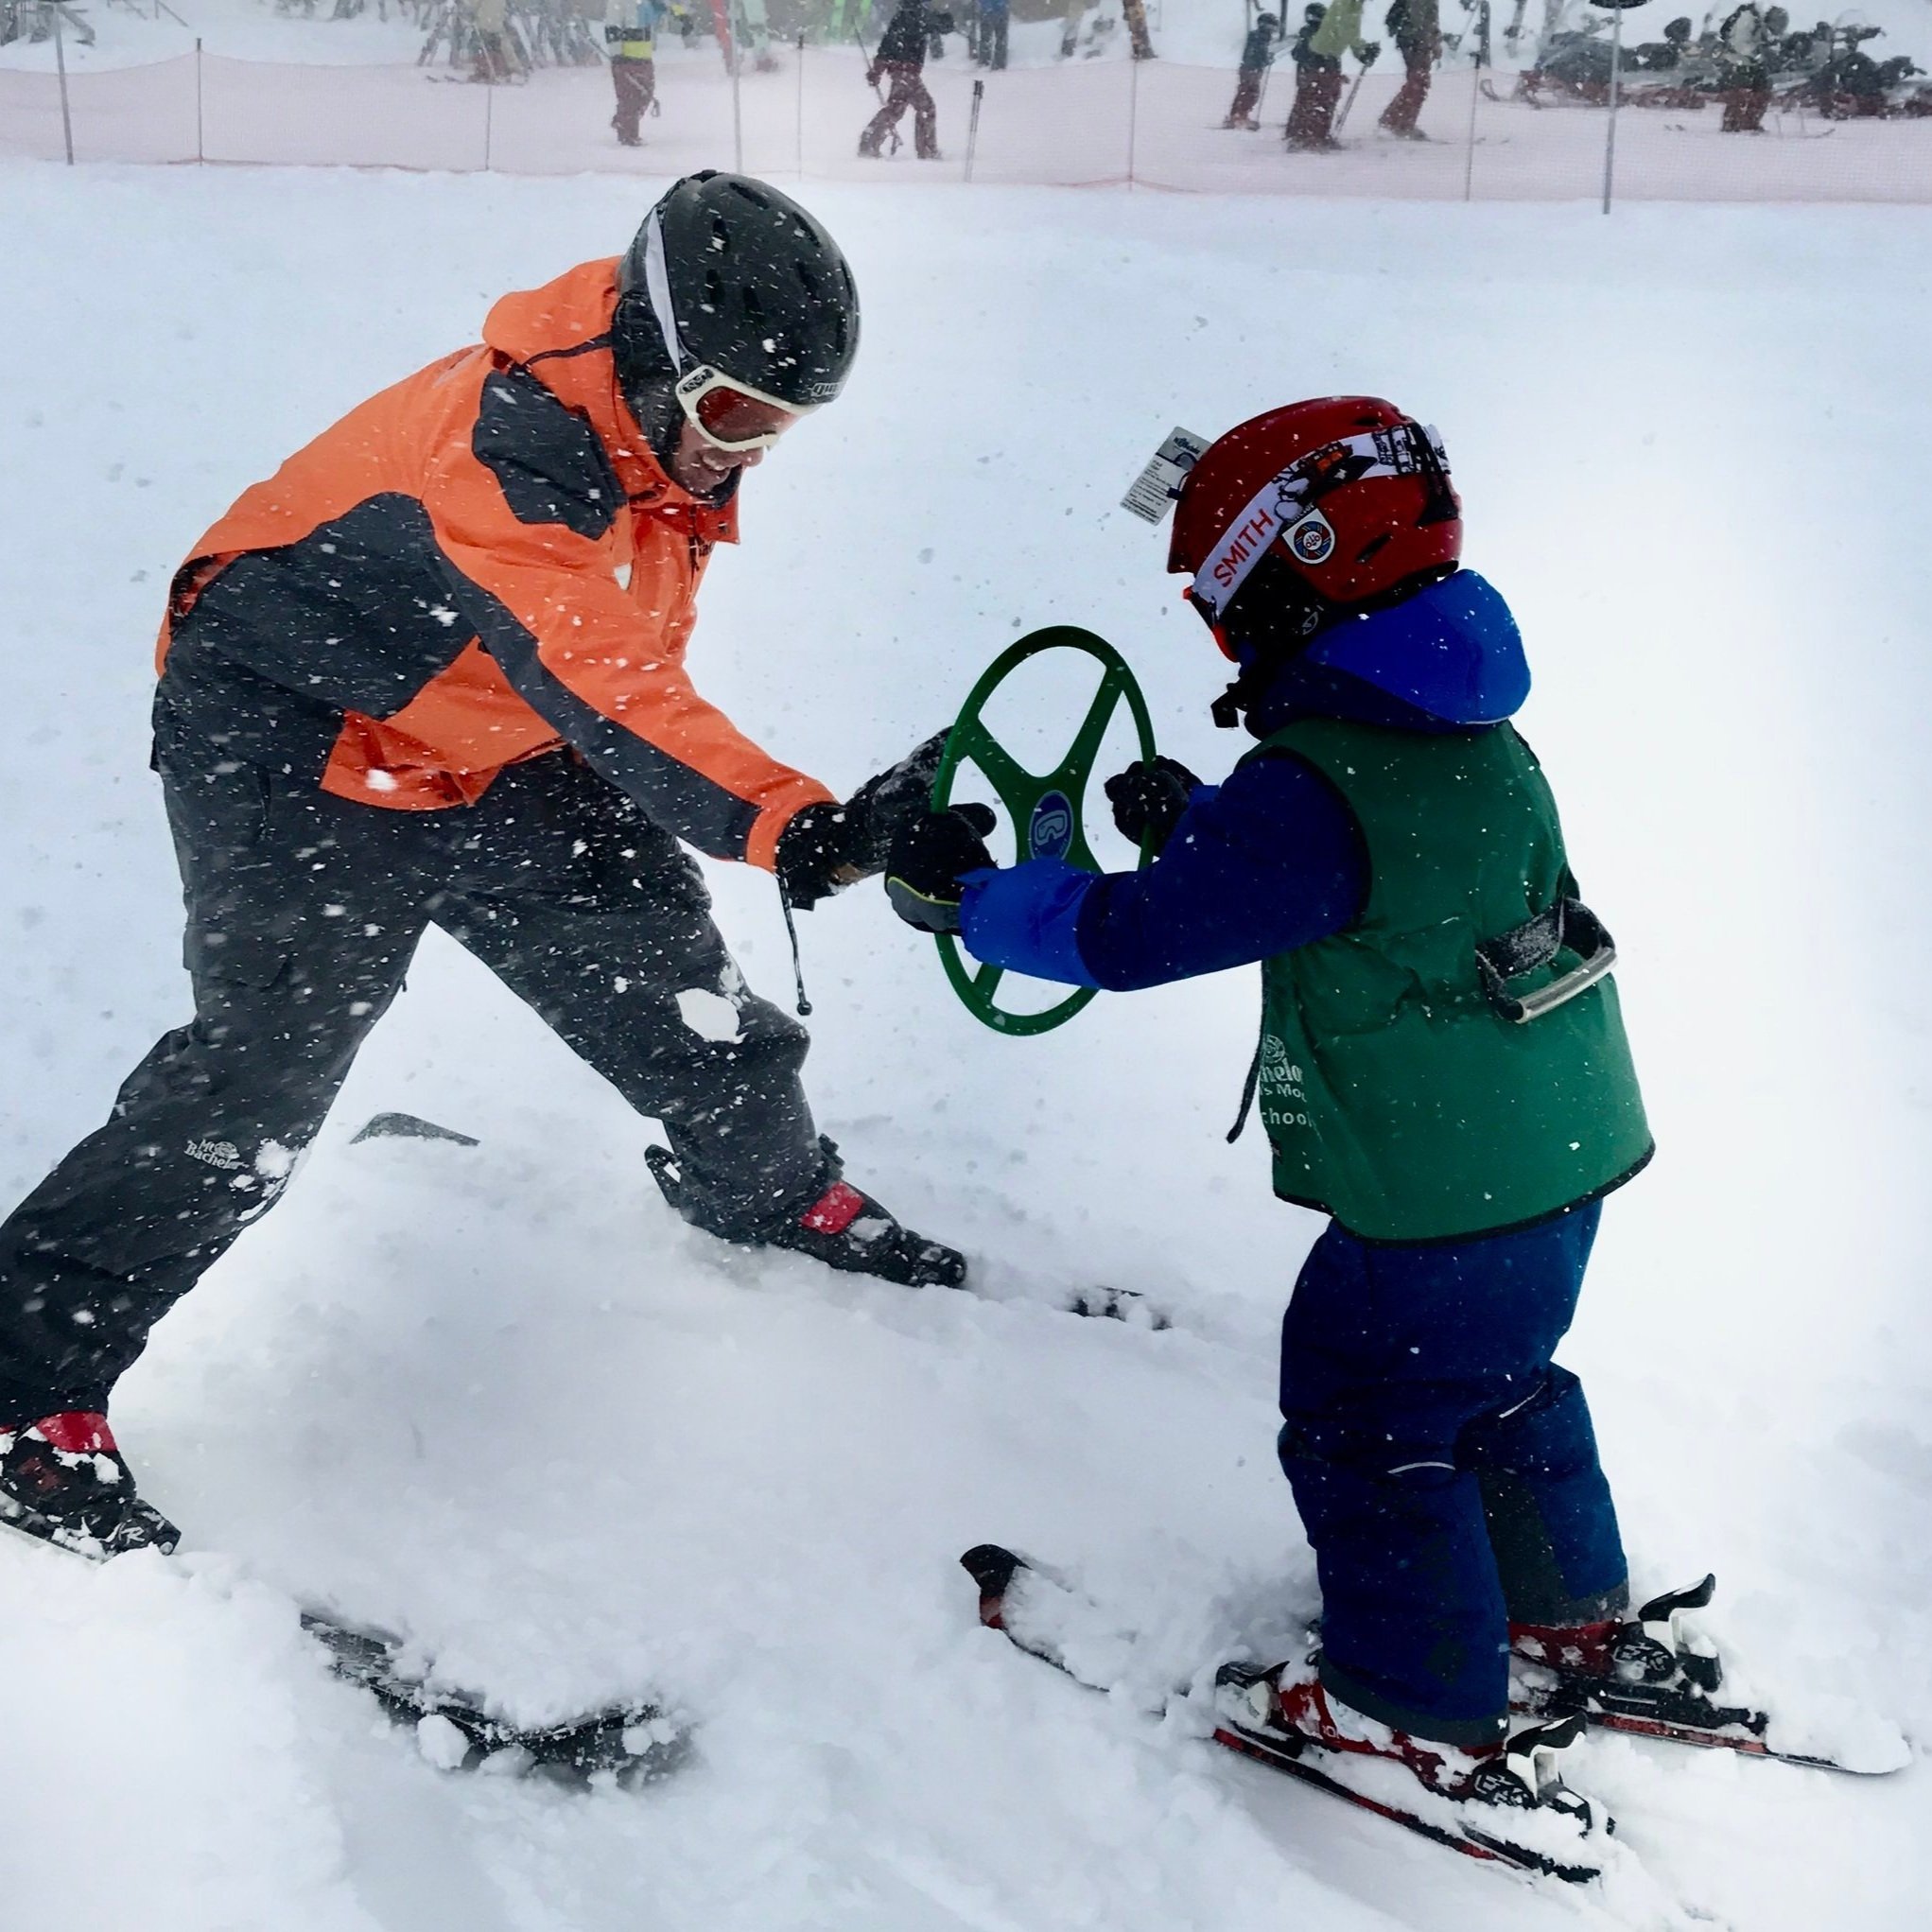
How To Use SkiRing® with Beginner Skiers
Before we dig into some information about how you can use SkiRing with new skiers, there are a few things to take into consideration.
The use of SkiRing will and should evolve with the learner. There is no one way to learn, practice, or teach. There are an infinite number of factors to consider; such as age, physical abilities, handicaps, motivations, equipment, weather conditions, and many other factors. The information provided is only a list of suggested ideas of how and when to use SkiRing for the majority of beginners. Please take this information into consideration before starting practice with SkiRing.
By keeping new skiers’ hands out front, rather than at their sides or in back, or ‘flailing’ everywhere, SkiRing supports proper athletic stance, motivates downhill focus, decreases anxiety, and inspires imaginative play while learning. A quiet upper body allows the new skier to focus on foot and ankle movements, a fundamental skill in skiing. We will highlight how you can use SkiRing to begin to put these fundamental skills into practice below.
Keep it simple. SkiRing was designed to help new skiers have more FUN, be more ENGAGED and stay SAFE while learning the basic skills of skiing. Let SkiRing help keep the new learner’s upper body and mind calm so they can focus on what their feet/ankles/shin/boots/legs do to make their skis go.
Tips on How to Use SkiRing with Beginner Skiers
#1 WALK ON THE SNOW
For “never ever” skiers (first time skiers) basic boot work is important and is a great place to start. Time spent walking on snow in boots only (no skis yet) helps focus on the new feeling for their feet, ankles and legs.
#2 PRACTICE PROPER STANCE WITHOUT SKIS
Once the new skier becomes comfortable with this new feeling, grab a SkiRing and discuss a proper athletic stance before they strap their skis on. Instructors should demonstrate using a SkiRing along with students who also have a SkiRing. Ask them to find their “ready” position. Are you in balance? Find your balance. Too far back on your heels? Too far forward? Just Right! Too wide? Too close? Just Right!
#3 PRACTICE PROPER STANCE WITH SKIS
After they have practiced this without skis and have a good grasp on their stance and balance, have them put their skis on and and repeat all of the above.
#4 GET MOVING
Once the new learner is ready to move, have them practice the following movements while holding the SkiRing out front to help them maintain their balance and as a cue to keep their eyes looking forward/down the hill.
Walking with skis on
Shuffle with skis on
Side step on flats
Pinwheel stepping turns (also known as Daisy stepping turns)
Side step climbing with skis
Herringbone climbing with skis
Straight run on gentle slope to a run out stop
Gliding wedge to a run out stop
Gliding wedge to a turn stop
Gliding wedge to linked turns.
Traverse across a gentle slope
Depending on your learning area, you may be able to add in riding a Magic Carpet. LOAD and UNLOAD are big milestones in learning.
Load the Magic Carpet (pinwheel turns are typically needed)
Unload the Magic Carpet (gliding and pinwheel turns are typically needed and a traverse to move safely out of the way of others)
Now try:
Straight run with a hop (tip on the snow, tails up)
Wedge change-ups (wedge to a match and back out again)
Ski backwards on a gentle slope (helps skiers feel the shin-boot-tongue connection)
“Tell me and I forget. Teach me and I remember. Involve me and I learn.”
– Benjamin Franklin

